


DIY Aluminum Frame
DIY Aluminum Frame


Couldn't load pickup availability
DIY Aluminum Frame
Material
Material
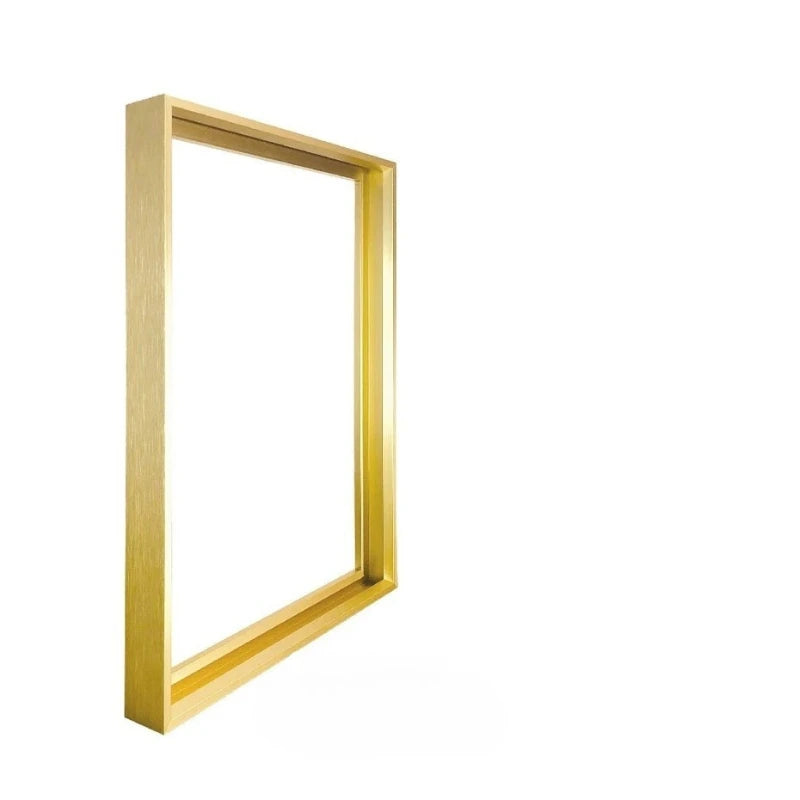
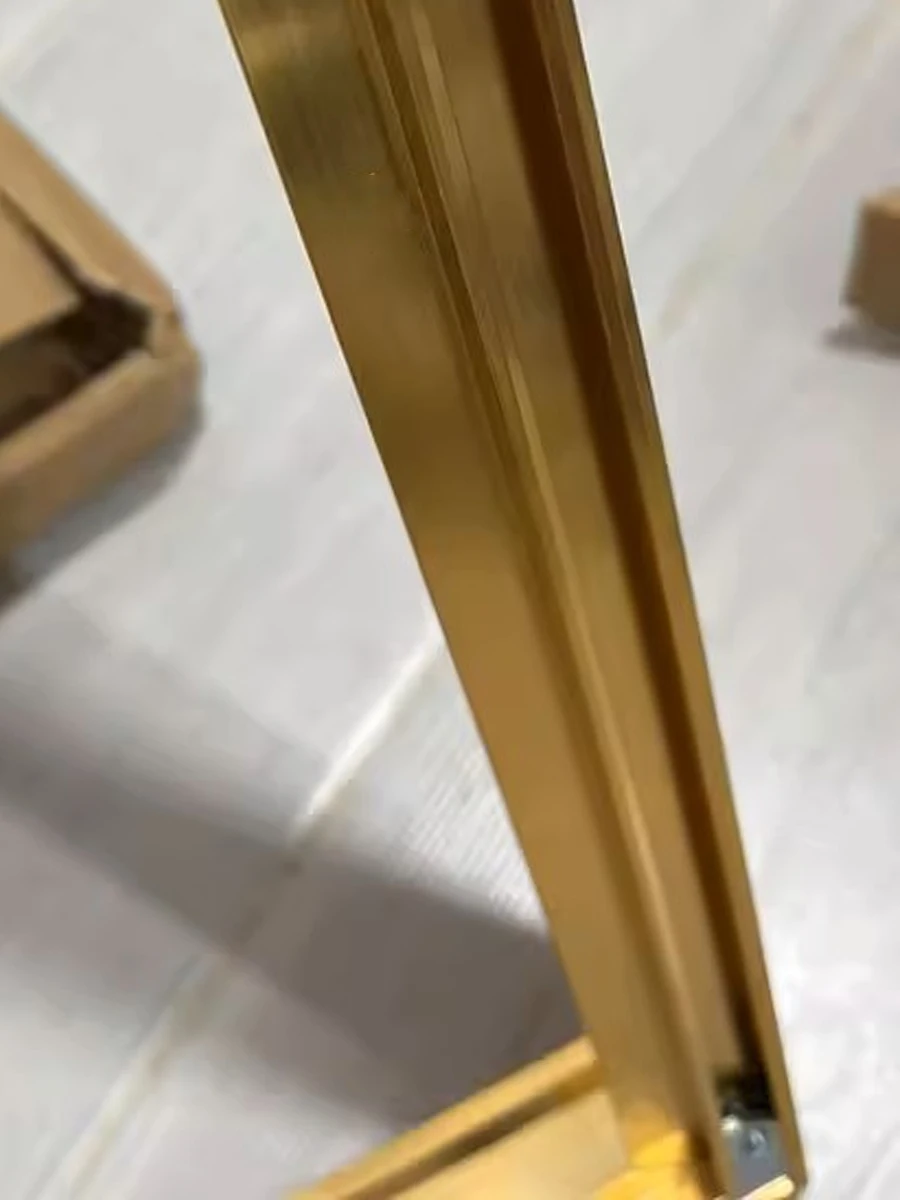
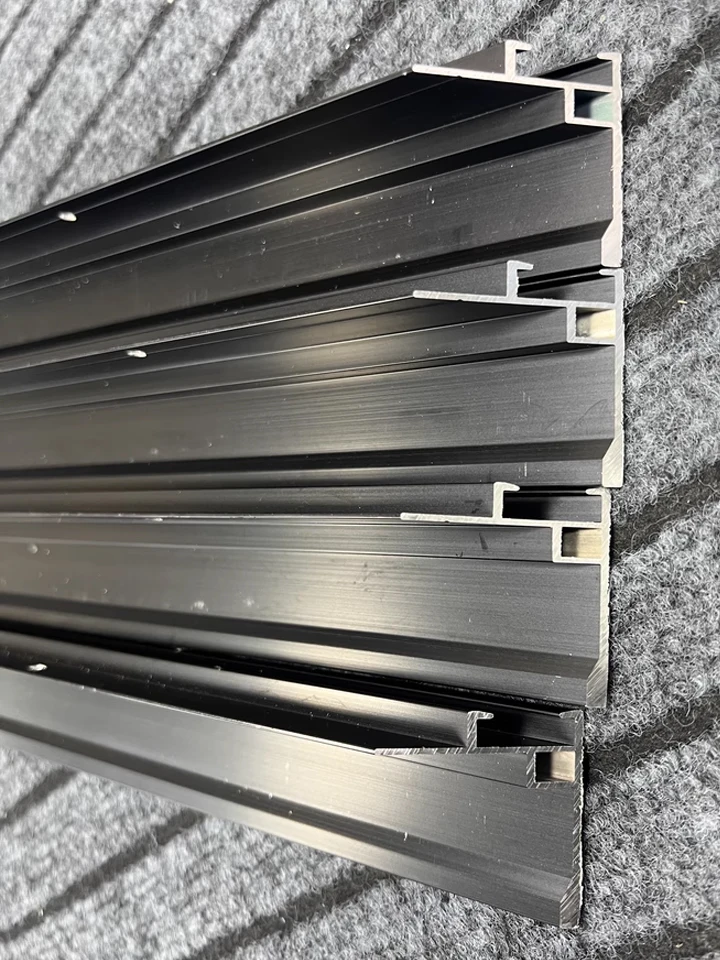
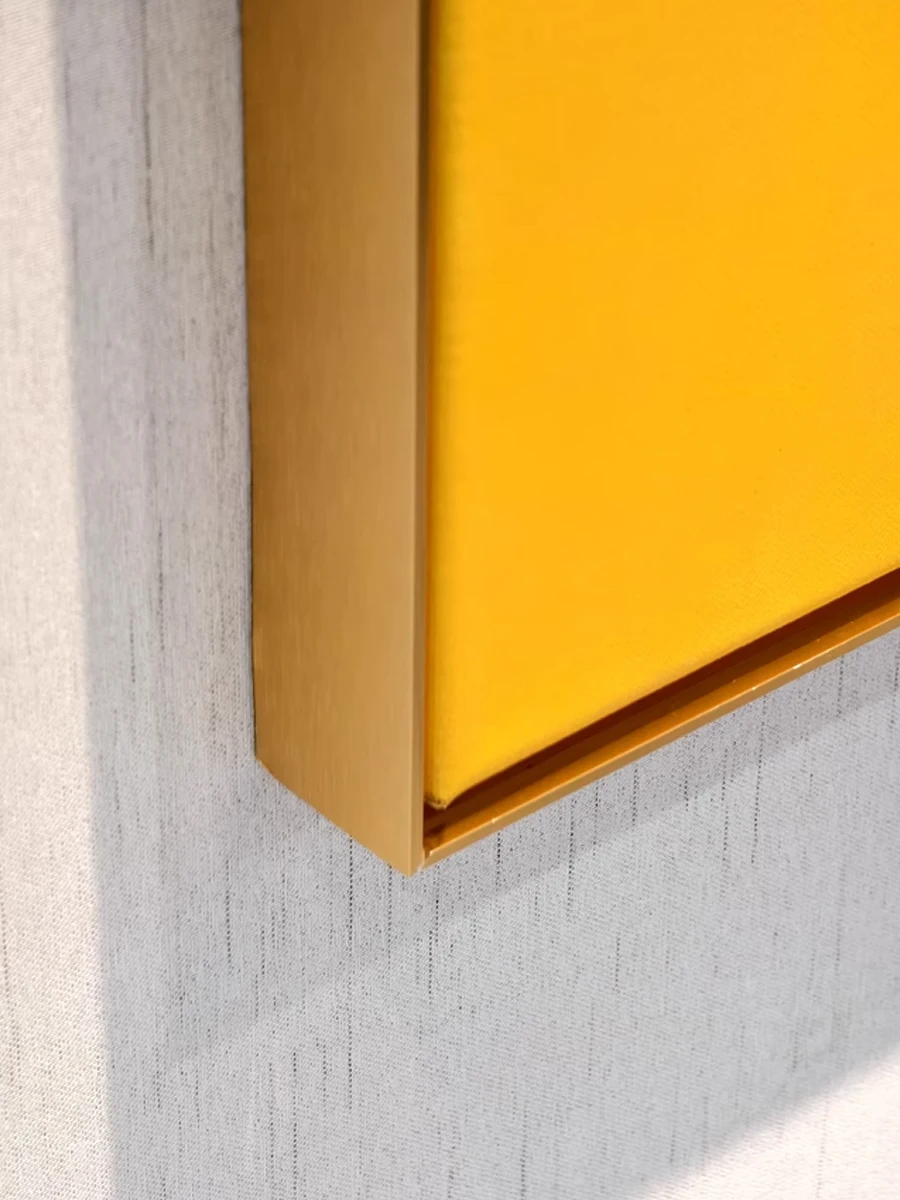
Aluminum Alloy – Made from lightweight yet durable aluminum for a sleek, modern finish.
Sturdy Build – Provides strong support and lasting protection for your artwork.
Corrosion-Resistant Finish – Designed to maintain its appearance and durability over time.
Usages
Usages
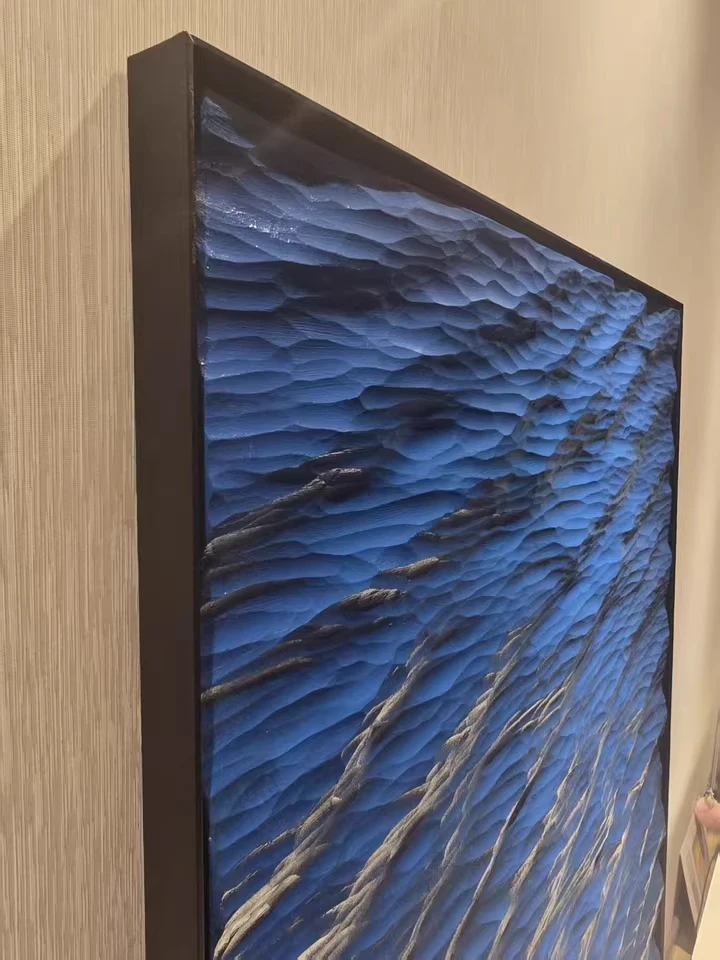
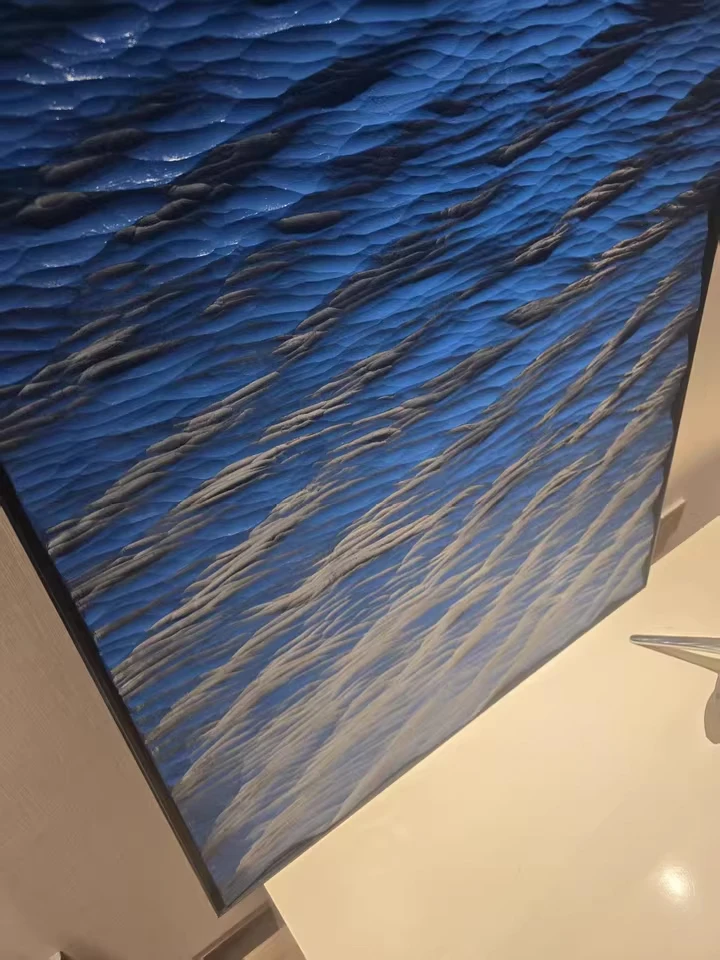
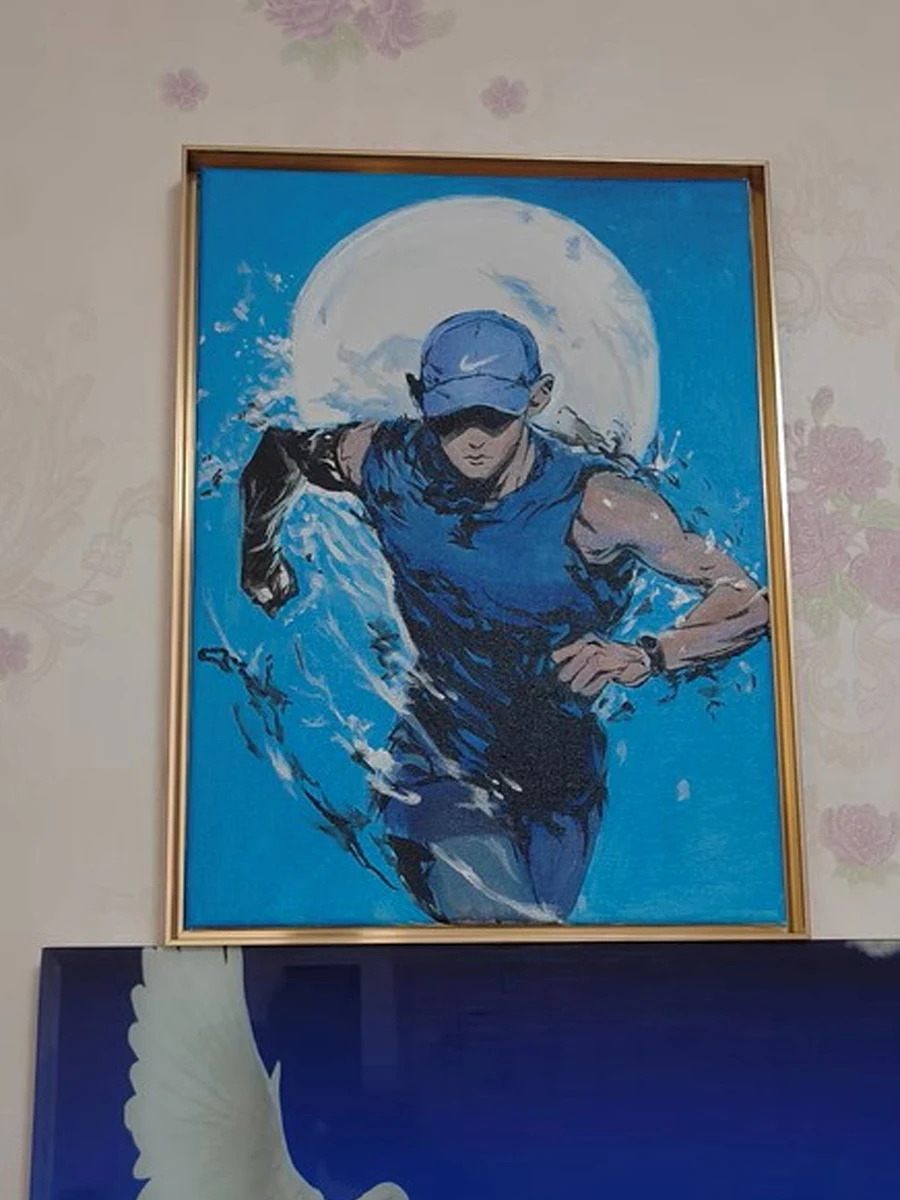
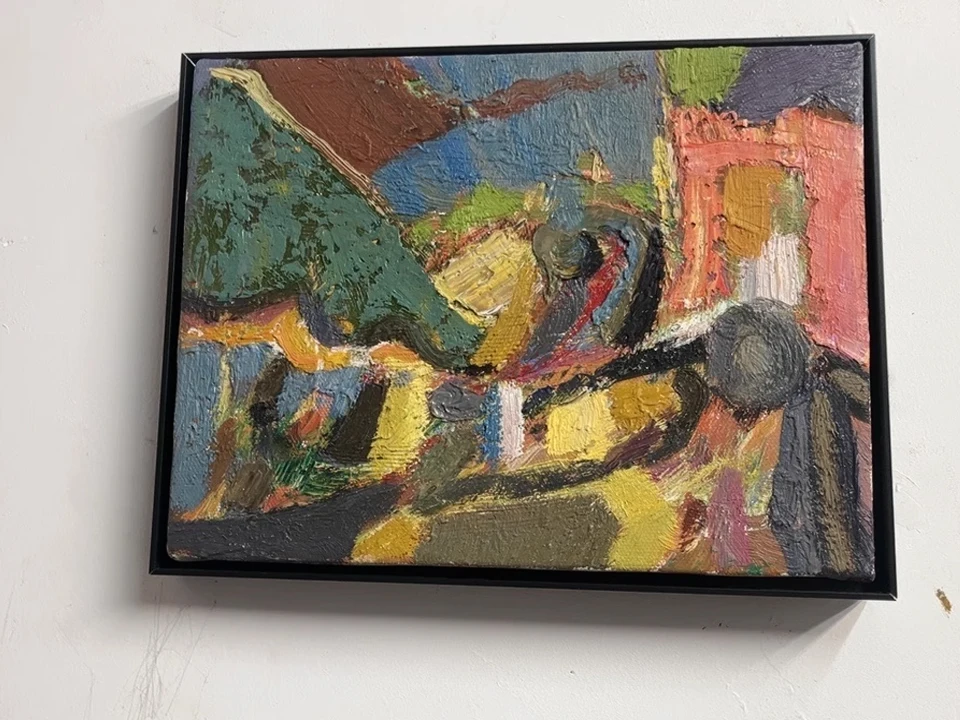
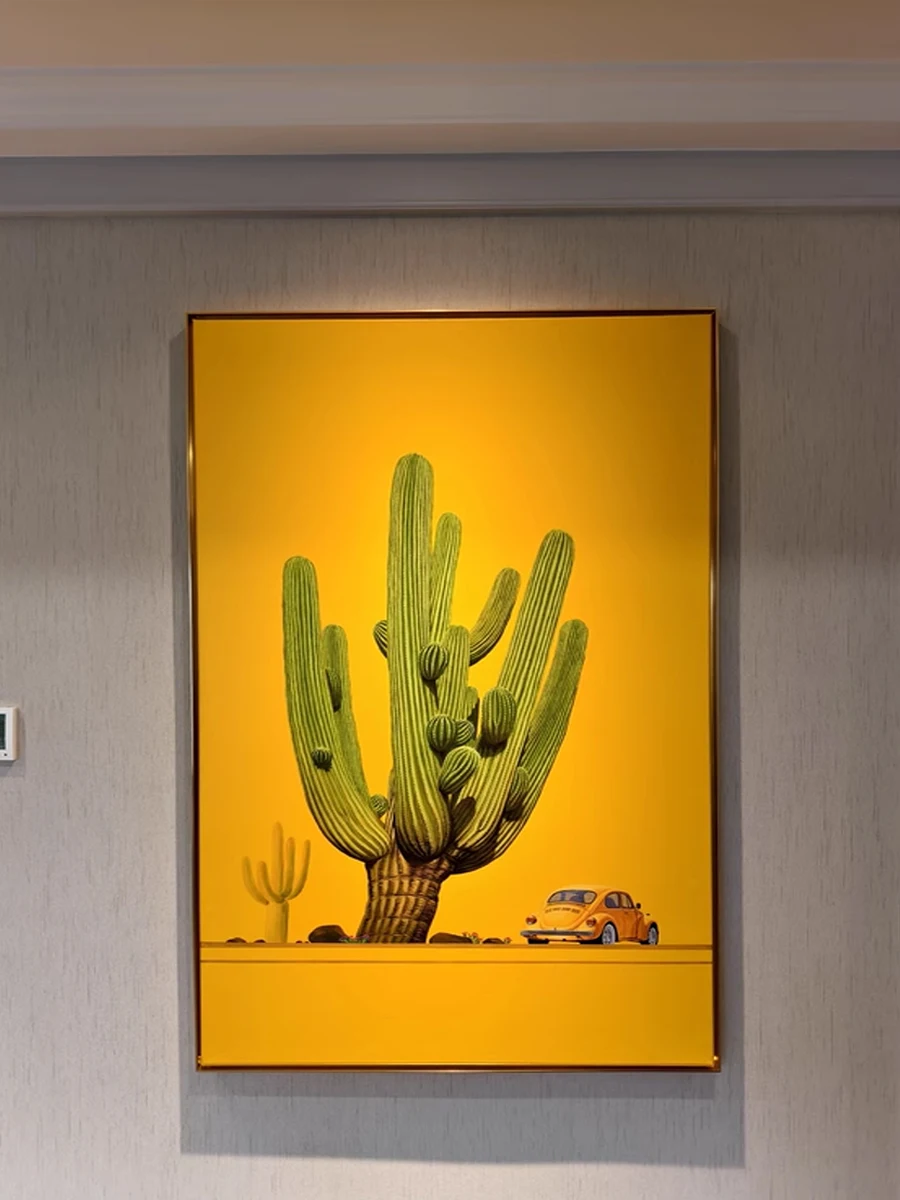
Display posters, prints, or canvas panels with a sleek, modern aluminum frame.
Enhance your space with a clean, minimalist look that suits any decor.
Perfect for galleries, studios, offices, or special events and exhibitions.
Specifications
Specifications
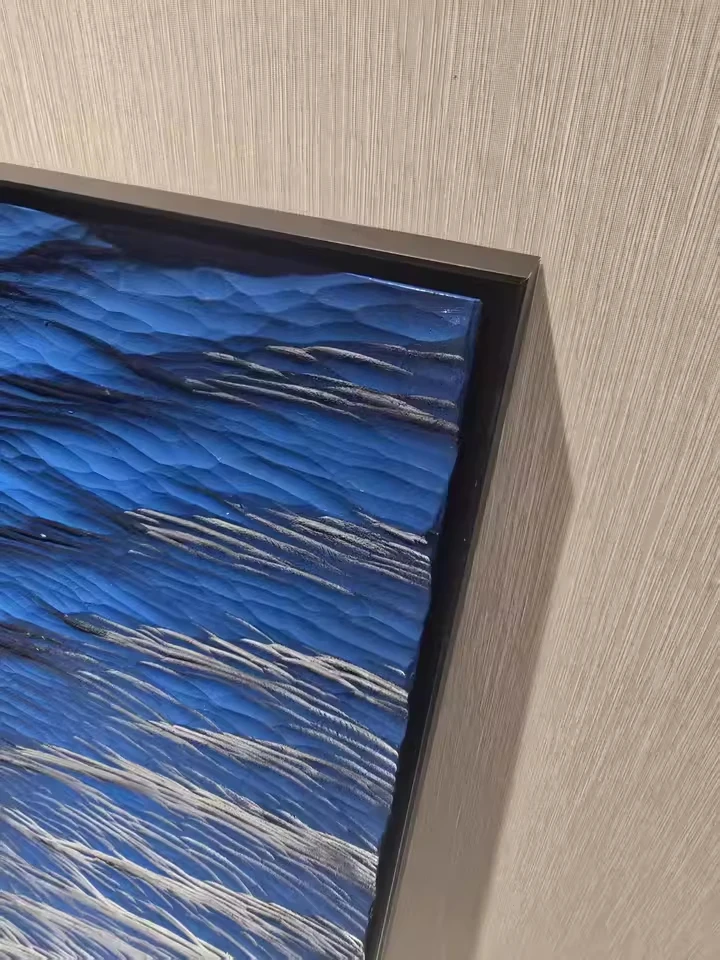
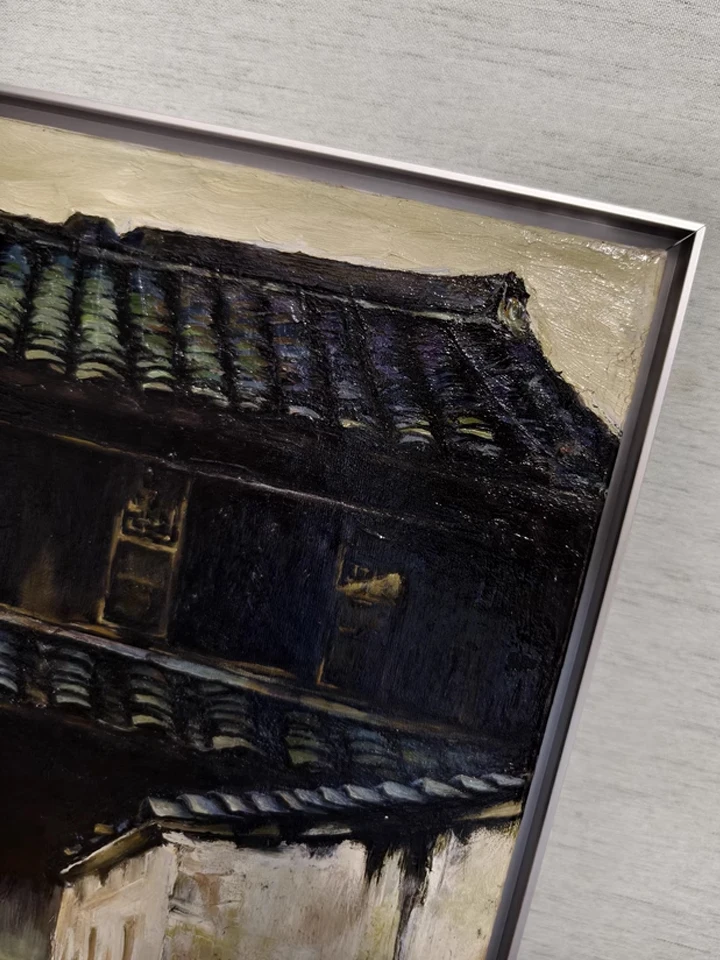
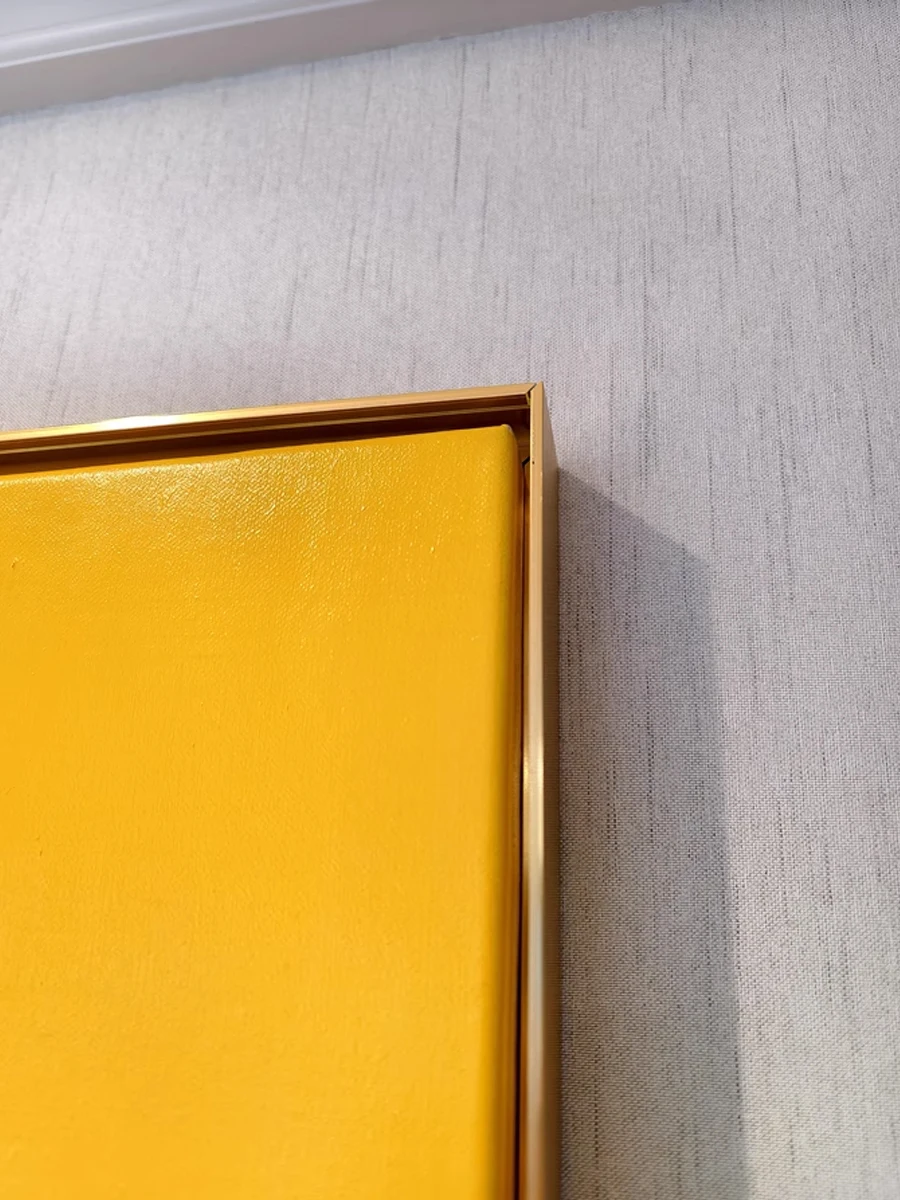
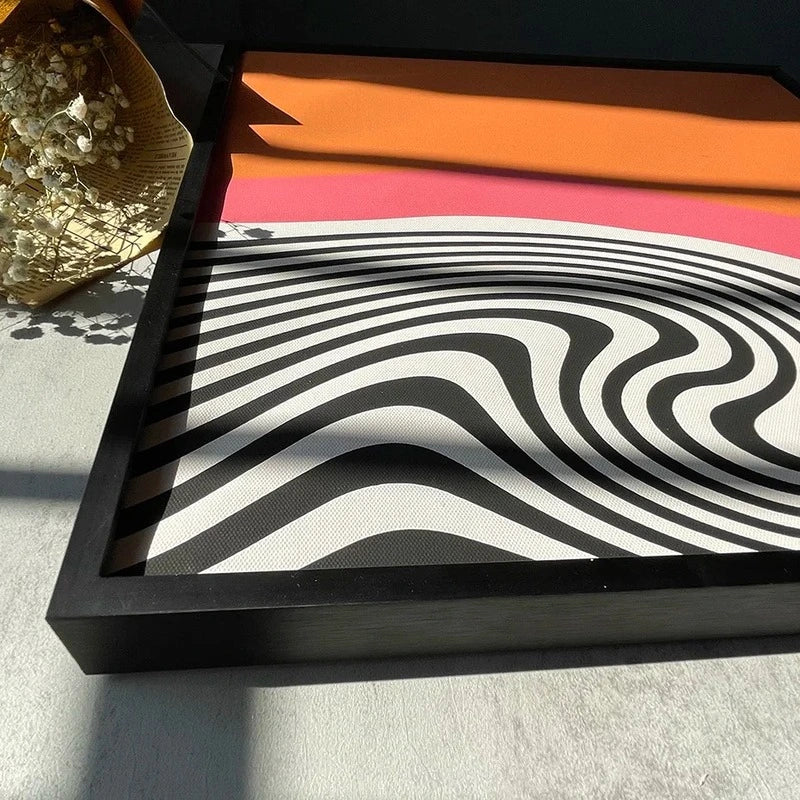
Rectangular shape designed for a sharp, modern presentation.
Contemporary aluminum finish complements clean interior styles.
DIY assembly with included accessories for easy setup
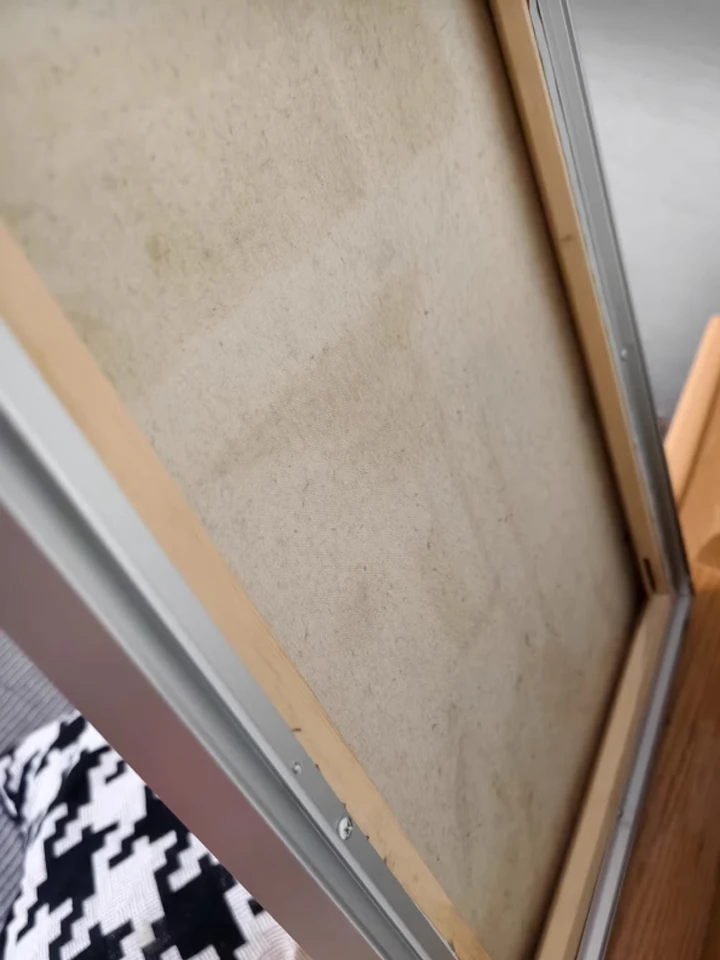
Designed as an outer frame — requires an inner frame and does not include front glass or a back panel and Features a recessed area of 1–2.3 cm.
Accessories
Accessories
Includes 6 tension plates, 2 hooks, 8 corner brackets (4 with one hole and 4 with screw holes), and screws for sturdy assembly and hanging.


step-by-step guide
Frame Installation for Your Artwork
-

Preparing the frame and accessories
Check that your inner frame is 1–2.3 cm thick and matches the outer frame size. Lay out all parts from the accessory bag.
-

Preparing the corner brackets
Each corner uses two bracket pieces. Place the one with the hole below and the one with screws on top.
-

Installing the first corner brackets
Slide both pieces into one aluminum bar—first the hole piece, then the screw piece. Tighten the screws. Repeat on the other end and a second bar.
-

Repeating on other sides
Repeat this process for the opposite end of the same bar, then repeat on a second aluminum bar to complete two sides of the frame.
-

Connecting the bars
Attach the two bars without brackets to one of the bracketed bars to form a U-shape with three connected sides.
-

Inserting the inner frame
Carefully place the inner frame or artwork inside the assembled outer frame section, making sure it fits snugly and sits evenly.
-

Attaching the final bar
Connect the last bar to close the frame. Make sure all corners are aligned and tight.
-

Adding hooks and adjusting fit
If desired, install the hanging hooks. Use the included tension plates to tighten the space between the inner and outer frames for a secure hold.


Why Frame This Way
- Achieve a modern, gallery-quality look using sleek aluminum framing.
- Assemble the frame with ease using basic tools for a secure, custom fit.
- Enjoy a durable, lightweight design that offers long-lasting support.
- Versatile for more than just home decor — perfect for galleries, business licenses, office displays, and elevator advertisements.